
How is Leather Made?
Table of Contents
Making leather is a lengthy and technical process that has to be followed with precision and care in order for the process to produce a high-quality leather with the same finish each time. The process will start with an animal hide and by the end of the journey there will be a piece of leather ready to be transformed into a bag, clothing or any other leather product.
Read more about our workshop and handmade process here.
Raw Material
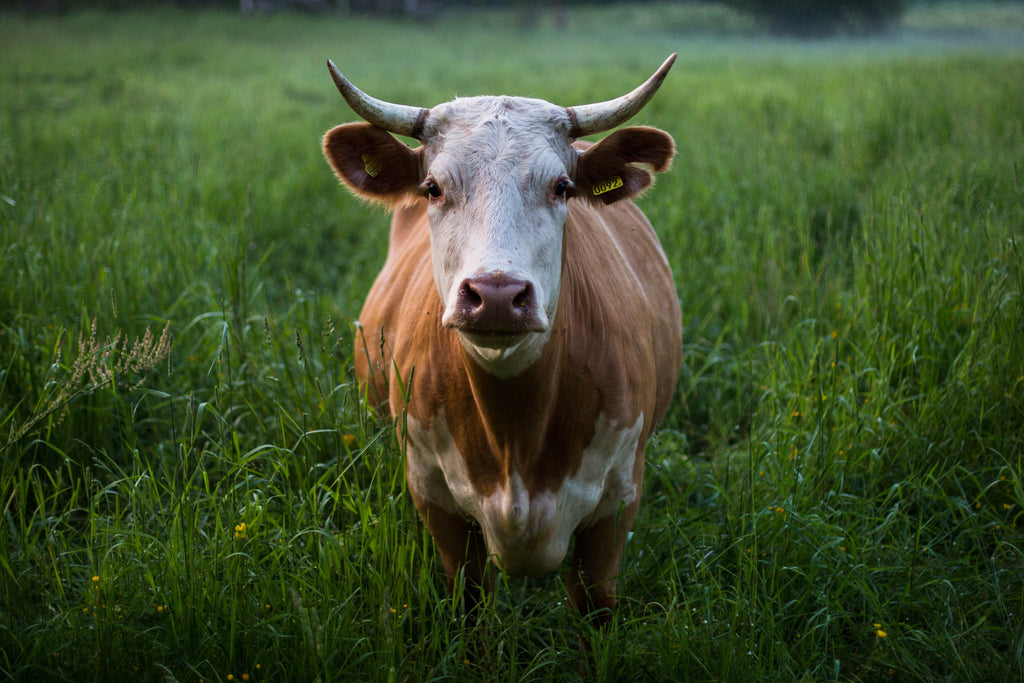
Leather can be made from the hide of almost any animal including pigs, sheep, goats and crocodiles. However, the most common hide used is that from a cow. A by-product of the meat and dairy industries, the art of making leather uses hides that would otherwise be destroyed. Rather, by making leather, the animal’s hide is turned into a beautiful and useful material that will last for decades.
Of course, the upbringing of the cow will affect the quality of the hide produced with a good hide giving an 80-90% yield. For instance, cows that have been branded, been exposed to a lot of insect bites, kept near barbed wire fences or have had electric cattle prods used on them can have damage to their hide. Here you’ll find that the hide yield is more likely to be around 60% so as to avoid blemishes and holes. Even certain diets that include grains or growth hormones can make for a poorer quality hide.
When a hide is prepared, the skin is removed from the animal and then the flesh needs to be removed, which can be done by hand or by using a fleshing machine. If you are doing it by hand, it’s important that the process is done as quickly as possible as the material can easily dry out. At the end of the process you should be left with a white, clean surface.

At this point a hide should be salted or placed in a salt brine. This needs to be a very generous layer of salt as the salt is what stops it from decomposing. If a hide is not salted, brined or frozen within a few hours of being removed, the decomposition process can begin and the hide may become useless and be wasted. The hides tend to be stored, salted and folded with the flesh sides touching and will remain salted until ready to be processed when it should be soaked in water to remove any dirt or other materials.
If a hide has hair on it then it will need this removed, which is executed using a chemical solution that contains calcium oxide. This may be called a lime bath too and the soaking can take one to two days. This process will also soften the hide. If you don’t want to use chemicals, the hair can be removed in a similar fashion that the flesh was removed by hand.
After all this bathing and soaking, the hide will be full of moisture so it will swell to be around 4mm thick and can be spliced into two layers. This is done so separate parts of the hide can be used for different types of leather product. The upper part of the leather split is saved for the highest quality leather products such as full grain leather. This is due to the fact the upper layer has a much tighter fibre structure making it more durable. When treated correctly this layer makes for a stunning and supple leather.
The bottom layer of the hide will be kept for cheaper leathers with less overall quality than the top layer. These tend to be used for top grain and split leathers and are most commonly used for shoes and bags.
Tanning

Now that the hide has been prepared, the second stage in the leather-making process is called tanning and will convert the hides into leather through preserving the material and halting decomposition.
To do this, hides need to be loaded into a special tanning drum along with a special tanning solution. This drum will contain a special mix of either vegetable tanning agents or a chromium salt mix. In general, a vegetable tanning mix, which contains tannin extracts naturally found in tree barks, will produce a leather that is flexible and is generally used for luggage or furniture. Chromium salts produce a more stretchable leather so will be typically used on products like clothing or handbags. Tannage can also be combined with both vegetable and chromium salts added – this will result in a fuller bodied leather that is both soft and supple. At the end of this process, special fats are added to the leather which will help the leather be both stronger and softer in what’s called a liquoring process.
From here the excess moisture needs to be removed – usually by applying a high pressure to the hides by passing them through rollers. After this drying process, the hides can then be inspected and arranged in levels of quality with those impaired with imperfections being of lesser quality. The grades of leather will determine what that hide will be used for in future. Hides that have been treated with chromium salts will appear pale blue.
Hides are then shaved to a specified uniform width and any shavings can be used to make bonded leather, floor tile backs, belts and recycled leather.
Re-Tanning
A second tanning process can occur again in order to get the leather fully ready for its intended purpose. This will be a repeat using either the vegetable mix or with the chromium salts (or a combination) and the excess moisture is again removed using pressure.
Once the tanning process is complete the hides need to be dried. This drying can occur with a variety of processes such as air dried or vacuum dried. Air drying a hide involves putting a hide on something like an overhead conveyor where it will be rotated until completely dried. Vacuum drying is a quick method of drying, obtained by removing all the air from around the hide. This method will cause the hide to shrink slightly but will leave the hide with a smooth and tight texture.
During the re-tanning stage a bleaching agent can be used and this provides an excellent base to start the leather dyeing stage.
Dyeing

The leather dyeing process is what adds the wonderful colour to a finished leather design. This can be anything from the browns and blacks associated with leather to bright, bold colours. Each dye is meticulously formulated using a highly accurate computer program, without which it would be impossible to get a consistent colour each time.
The actual dyeing process can be incredibly lengthy with hides needing to be added to a large drum along with their chosen dye for a long period of time to ensure the dye takes. After around 8 hours a cutting should be taken to ensure that the dye has completely saturated the hide. Otherwise the leather will look patchy. Afterwards the leather needs to be rinsed thoroughly to remove any residual dye or chemicals. Once rinsed the hide should be dried entirely.
Finishing

When the dyeing process is complete, the last stage in the leather-making is the finishing. This is the stage where the leather will be worked to ensure that it has the supple, flexible nature that is so desired in leather as well as the glossy finish. A finish that not only protects the surface but also one which can be easier to clean. This stage would be skipped if a naked leather was desired.
To soften the leather a machine called a staker is used where the leather is both stretched and lots of natural oils will be added to lubricate the fabric. This stretching motion also tightens the pore structure of the leather. This helps create a higher quality finish that is desirable to consumers.
The final touch is to apply a finishing spray on the leather. What the finishing spray is will depend on the desired finish of the leather. For instance, a coat of acrylic can be added for a patent leather finish, mother of pearl can be added to give a pearlescent finish and at this stage leather can be embossed with patterns. On a large scale production, the leather will be hung and moved through the chosen spray line before being put into an oven to be cured. Once finished the leather can be stacked to prevent the leather getting creased and then it can be sent off ready to be used in making leather products. Full grain leathers, however, will skip this stage as it’s not needed. Instead this leather will go through an ironing process, which will use varying degrees of pressure and heat until the desired sheen is obtained.
The last stage of the process will be a quality check to ensure the leather has the correct colour and that there are no tears or anomalies in the leather. From here the leather can be rolled and shipped ready to be turned into quality luggage, handbags or any other leather accessory.

Written by
Richard Sheppard , Leathercraft Consultant & Researcher
Richard Sheppard has spent more than a decade researching and writing about leather, craftsmanship, materials, and product quality. Through his work with MAHI Leather, he contributes educational content and industry research that helps readers better understand the materials, construction methods, and care practices behind high-quality leather goods. His articles draw on industry research, practical experience, and a passion for helping consumers better understand what makes exceptional leather products.
View Richard on LinkedIn2 comments
Great summary! Thanks for taking the time to put all of this together.
As a leathercrafter making products largely for the motorcycle enthusiast through my online business, CC Custom Leatherworks, I find this article very well put together in describing the process from “raw” hide to leather ready for sale. I notice from the various articles I read I seem to become enlightened on a particular part of the process that might have been glossed over in others. In this one, the description of a Staker machine for preparing the leather for its final finishing through stretching the surface., adding the oils, etc. I found to be especially enlightening. I have shared this piece on my Facebook Page, “CC Custom Leatherworks” which is my online business that caters largely to the motorcycle enthusiast – Kudos for an awesome read!


