Leather Wear and Tear: When Leather Gets Wet Does it Stain?
Table of Contents
Although leather has some natural water resistance, it’s also a permeable material that will absorb water readily. This can lead to all sorts of problems in your leather, including causing stains. This is especially common when a water pool – such as a ring from a wet glass – is allowed to dry without the water being wiped away. However, fixing a leather stain is relatively simple given the correct method. Cleaning the stain incorrectly can lead to further damage and staining.
Water Stain Removal Tips:

1. If you do catch the water spill on your leather relatively quickly, you may be able to prevent the stain by removing the water immediately. This should be done gently with a clean cloth or sponge and you should ensure all water is removed. Never try to artificially dry your leather using a heat source as this can cause other damage such as hardening and cracking in the leather.
2. Be very careful of using harsh chemicals to remove a water stain from leather. Even something like saddle soap, which is often used to clean leather, can make the water staining on your leather worse if the leather is still wet.
3. To remove the water stain you should use a slightly damp sponge – with as much water wrung out as possible – and lightly work that sponge over the water stain. This should be done in an outward motion to gently dampen the stain and remove it. The area should then be rubbed gently with a dry cloth and allowed to dry naturally. It’s vitally important to ensure the sponge used has not been used previously with foods or chemicals as this can cause further staining.
Once the leather has dried, it is important that you take the time to condition the leather. This is because water staining can dry the leather’s natural oils, something like saddle oil or wax used once the stain has been removed and dried will help return the leather to a like-new condition.
Peeling
As leather gets older it can be known to peel, causing an eyesore. Fortunately, it’s not impossible to revive peeling leather if you tackle the problem as soon as you see it.
Removing Leather Peel:
1. The area of the leather where the peeling has occurred should be washed thoroughly with either a leather cleaner or warm soapy water to remove any dirt or debris that might be on it. It should then be dried with a towel.
2. A nylon scrubbing pad dipped in warm soapy water should then be used to scrub the area in circular motions. This acts as a primer for the dye to stick to the leather. Again, the area should be dried thoroughly with a towel.
3. The peeling area should be wiped down using methylated spirits on a paper towel. This should be allowed to dry naturally.
4. Using sandpaper dipped in warm, soapy water the peeling area should be sanded down carefully and any debris removed from the leather before being dried with a towel.
5. The area should then be sprayed with a leather preparation spray and rubbed in. Some of these are required to be washed off while some can just be dabbed with a paper towel afterwards. Be sure to check the product’s packaging for guidance.
6. Finally spray a leather dye onto the area and allow to dry. This should be repeated at least one further time to ensure a natural look. The leather should be given adequate time to dry entirely before being used.
Scratches and Marks

Whether it’s a scratch from an animal or child or just a scuff from general wear and tear, both are most unwelcome on your leather. Although a scratch or scuff might seem like your leather is ruined forever, leather is very versatile and has the ability to bond to itself so scratches can be fixed. The method below is based on a shallow scratch or scuff, deeper scratches (where you can see fibres at the edges) may need professional fixing.
Fixing Scuffs and Scratches Method:
1. The area of the scuff/scratch needs to be thoroughly cleaned to remove any dirt or debris. This should be done using a leather cleaner or soapy water.
2. Using a cotton swab or pad soaked in baby oil, saddle oil or olive oil, rub this over the scuff or scratch and the surrounding area. This is best done in a circular motion. The oil should then be left to dry for about an hour and then removed with a clean cloth.
3. This can be repeated if the scuff or scratch hasn’t lifted. Remember that oils can cause discolouration so anything you use on your leather should be first tested in an inconspicuous area first.
For deeper scratches the area should be cleaned, wiped, rubbed with alcohol and allowed to dry naturally. The area should then be sanded using heavy sandpaper – around 1200 – until smooth. A leather filler should be added and allowed to dry before being sanded again. A dye can then be used on the area.
Creases and Wrinkles
Over time leather can naturally develop creases and wrinkles from poor storage and extensive use. Different methods will be needed depending on what leather product you have – for instance you might be able to steam out the wrinkles from a leather coat or shoes in a hot shower room, however this is impractical for a leather sofa.
Regardless of what leather product you’re trying to smooth out, it will come down to either shrinking or stretching the leather, which is done with either heat or alcohol. Each should be used with caution though, as too much can cause permanent damage.
Shrinking:
The shrinking method is done using heat, most commonly in the form of steam. If the leather is small enough you can put it in a room with a hot shower on for around 15 minutes. The steam will make the leather pliable and allow you to work the material to remove the creases. You could also use the bottom of a large spoon that’s been heated to spread these out. For larger leather surfaces, you can hire a fabric steamer.
Stretching:
Alcohol when used on leather will cause the material to stretch and allow you to remove wrinkles. The more you use, the more pliable the leather will become. Simply add as you work until the leather has stretched out, but be careful as not all leathers will work well with alcohol. In particular, suede leather and alcohol will not mix well.
Both methods will dry out your leather so it’s very important to condition the leather afterwards.
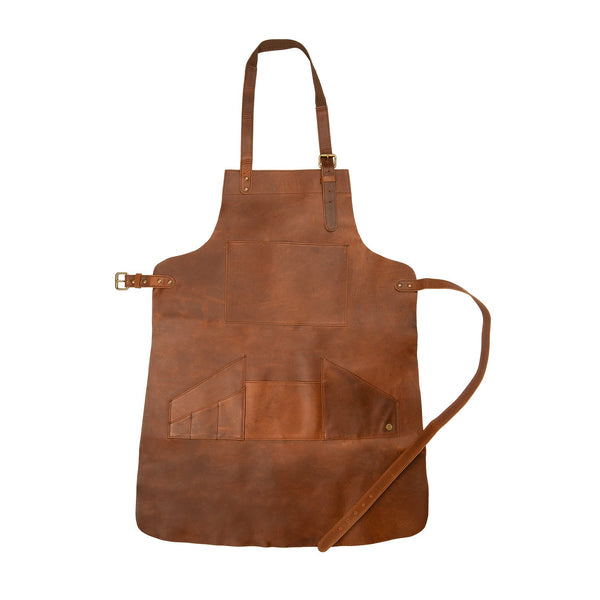
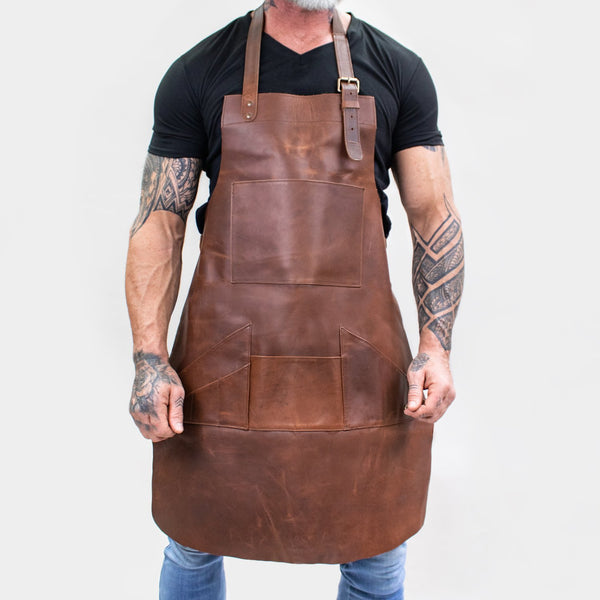
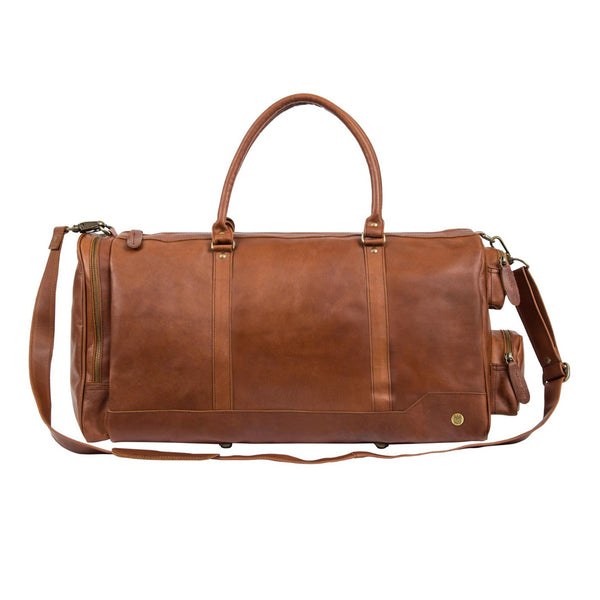
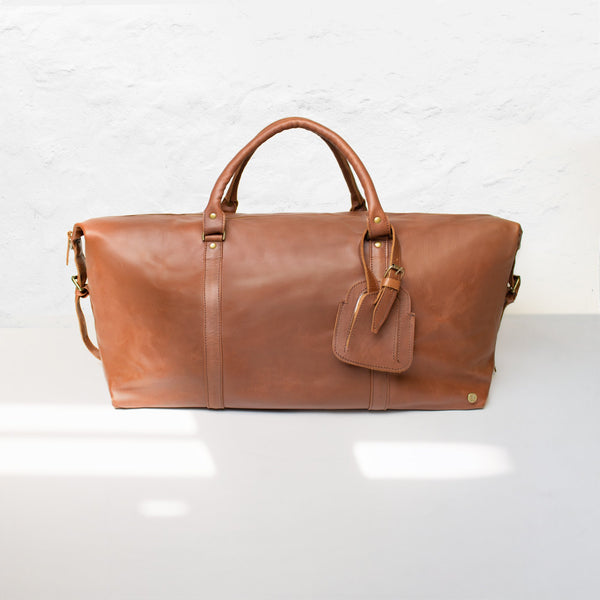
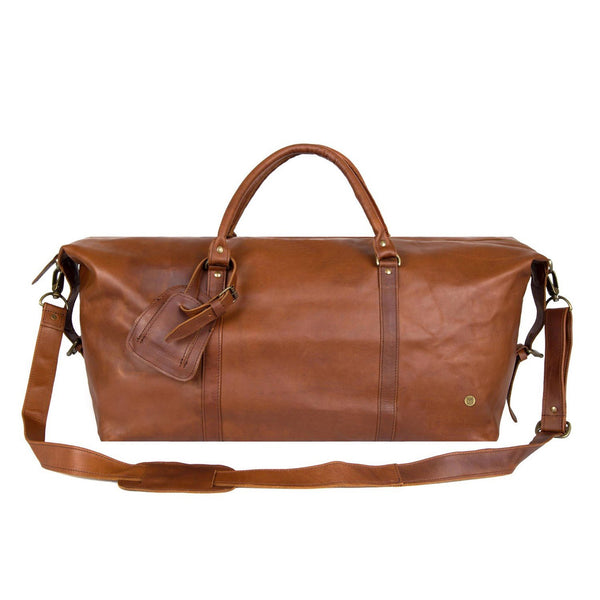
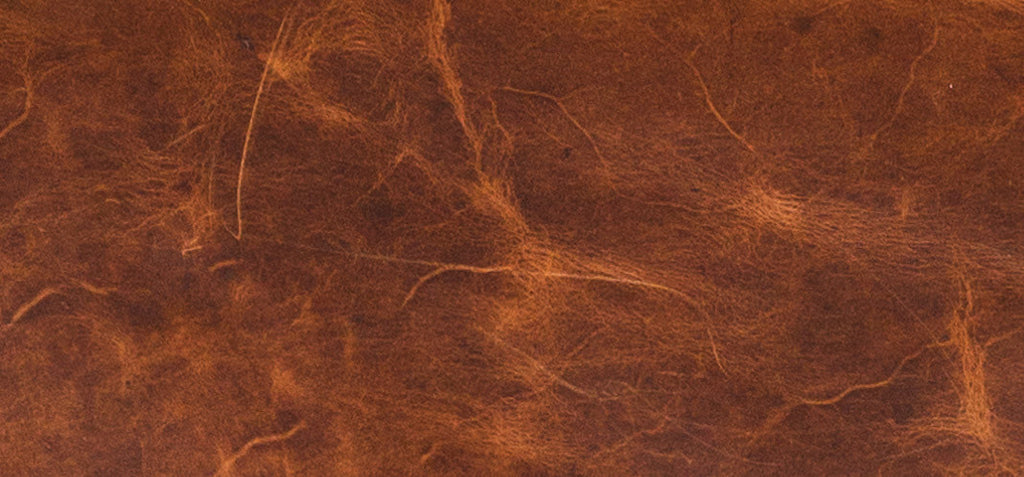
At MAHI, we embrace the vintage style look of our leather bags. We believe that any wrinkles, marks and blemishes in our products only add to their vintage style character. That said, if you'd like any more information on the care and maintenance of your MAHI, you can find out more here.
Please note that you should always a test a small inconspicuous area of the leather with any new leather dye or product to ensure that you're happy with any changes in the material.